# Setup Your Account (/docs/guides/getting-started/setup-your-account)
# 📘 Getting Started [#-getting-started]
Set up your Hands In account in three simple steps. Before integrating with our API or using any Hands In features, you’ll need to complete these essential setup steps to get started.
## 1️⃣ Create a Hands In Account [#1️⃣-create-a-hands-in-account]
To begin you will need a **Hands In account** to access the Merchant Dashboard, where you can manage your payment settings, API credentials, webhooks, and more.
[Sign up](https://app.handsin.com/signup) for a Hands In account or [Login here](https://app.handsin.com/login) if you already have one.
After you sign up we email you a link to verify your address. Open the link to finish creating your account. If you sign in with a password, you will also be asked to set up two-factor authentication the first time you log in.
## 2️⃣ Create an Organization and a Merchant [#2️⃣-create-an-organization-and-a-merchant]
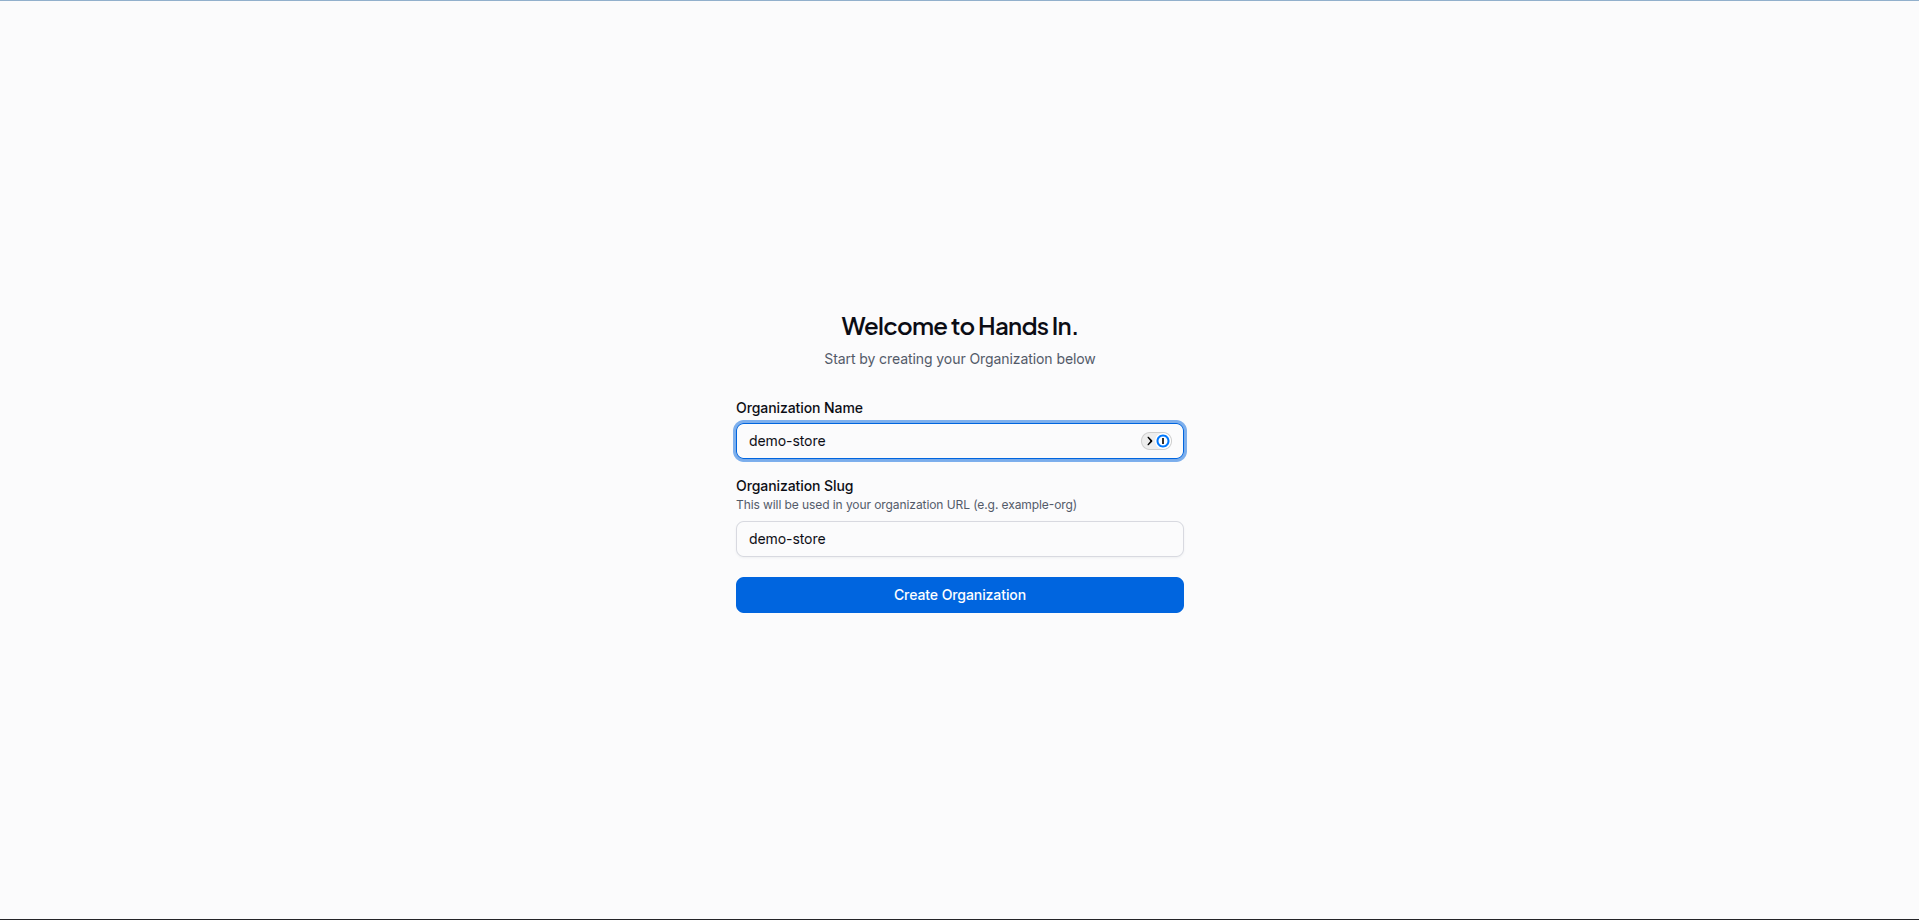
Once logged in, you will be asked to create an **organization**, which is your company's workspace in Hands In. Choose a name and a slug. The slug becomes part of your dashboard URL.
Your organization groups your merchants and the people who can access them.
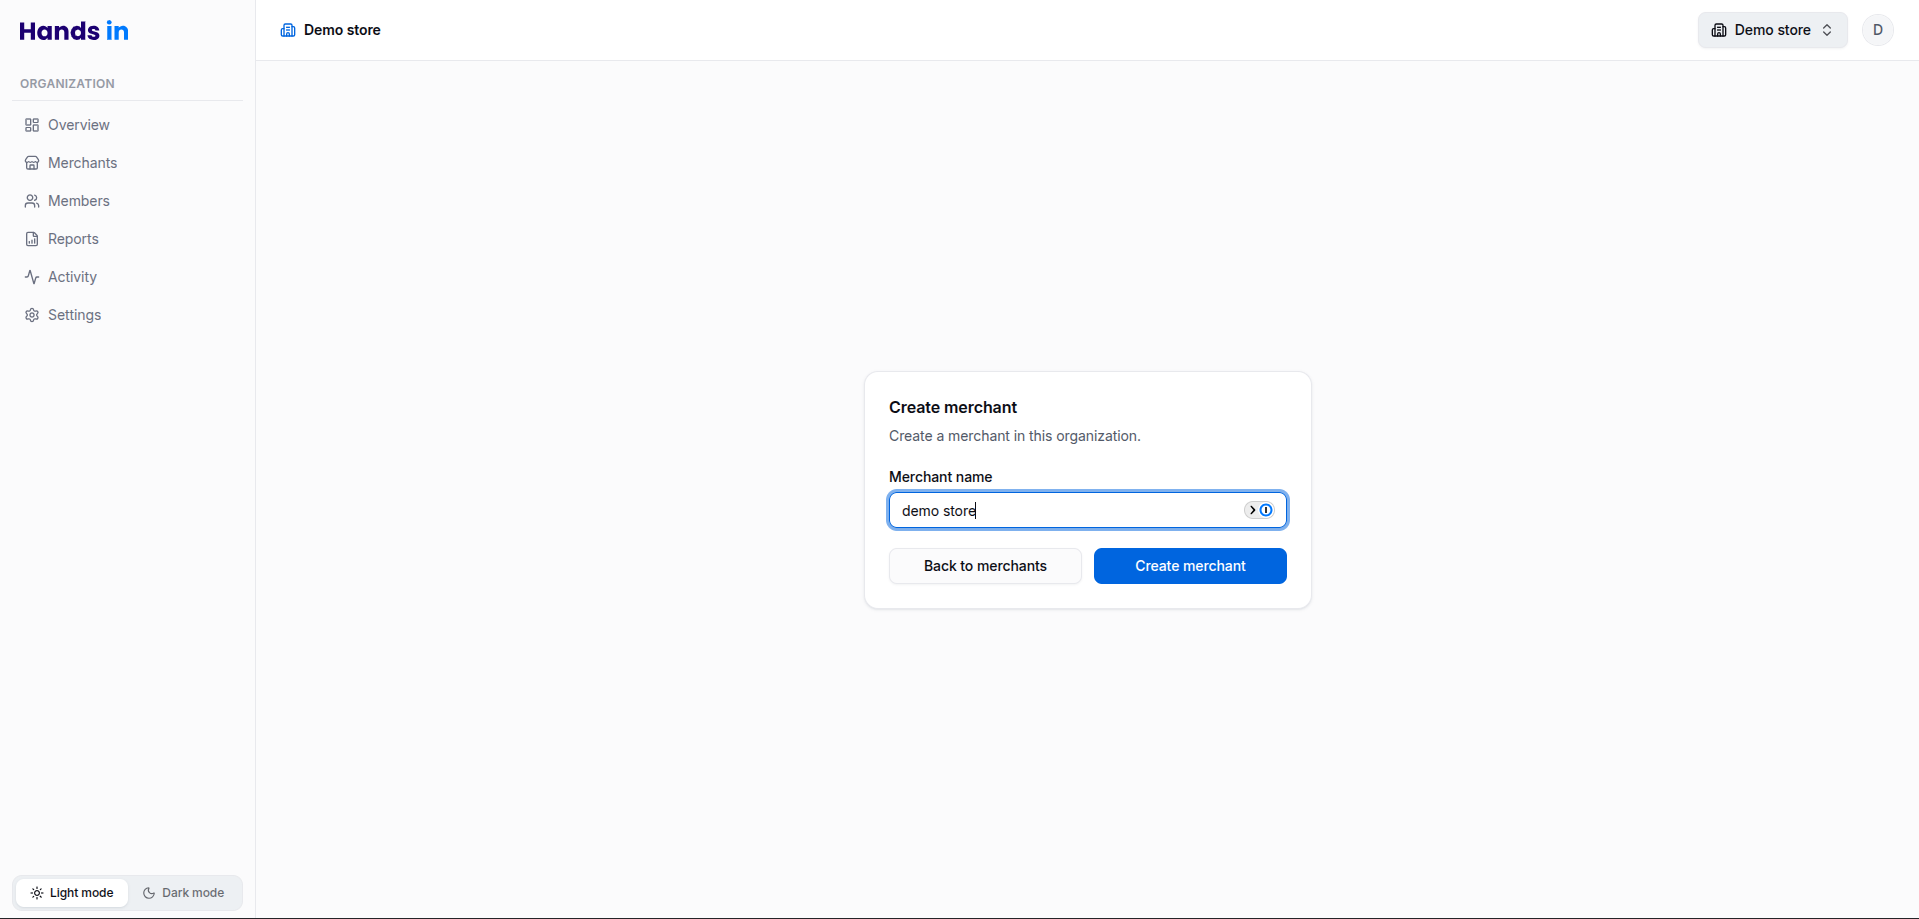
Next, create a **merchant**. A merchant is the business account that takes payments, with its own API keys, webhooks and payment processor connections. One organization can have several merchants.
Enter the name of the business you are taking payments for.
You can add your logo, company name and contact details later under **Settings**. These are shown to customers on our hosted checkout.
## 3️⃣ Connect Your Payment Processor [#3️⃣-connect-your-payment-processor]
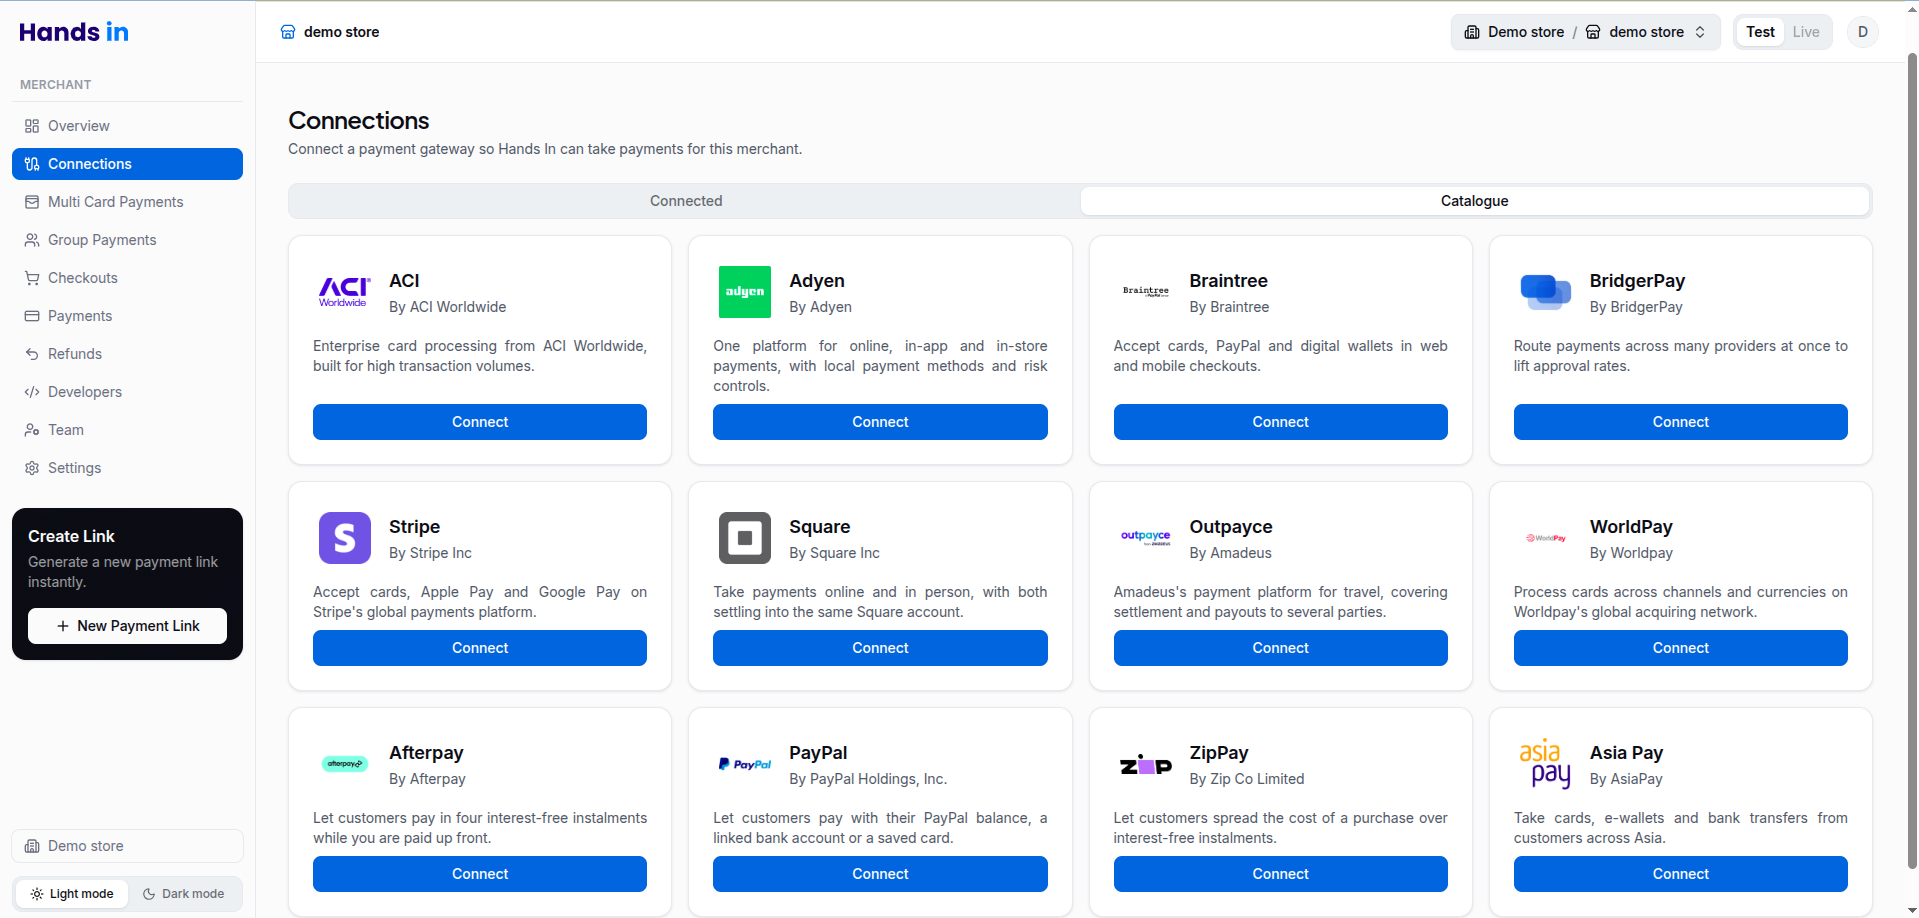
Before creating payments, you must connect a payment processor to your merchant. Open **Connections** in the sidebar and select the **Catalogue** tab.
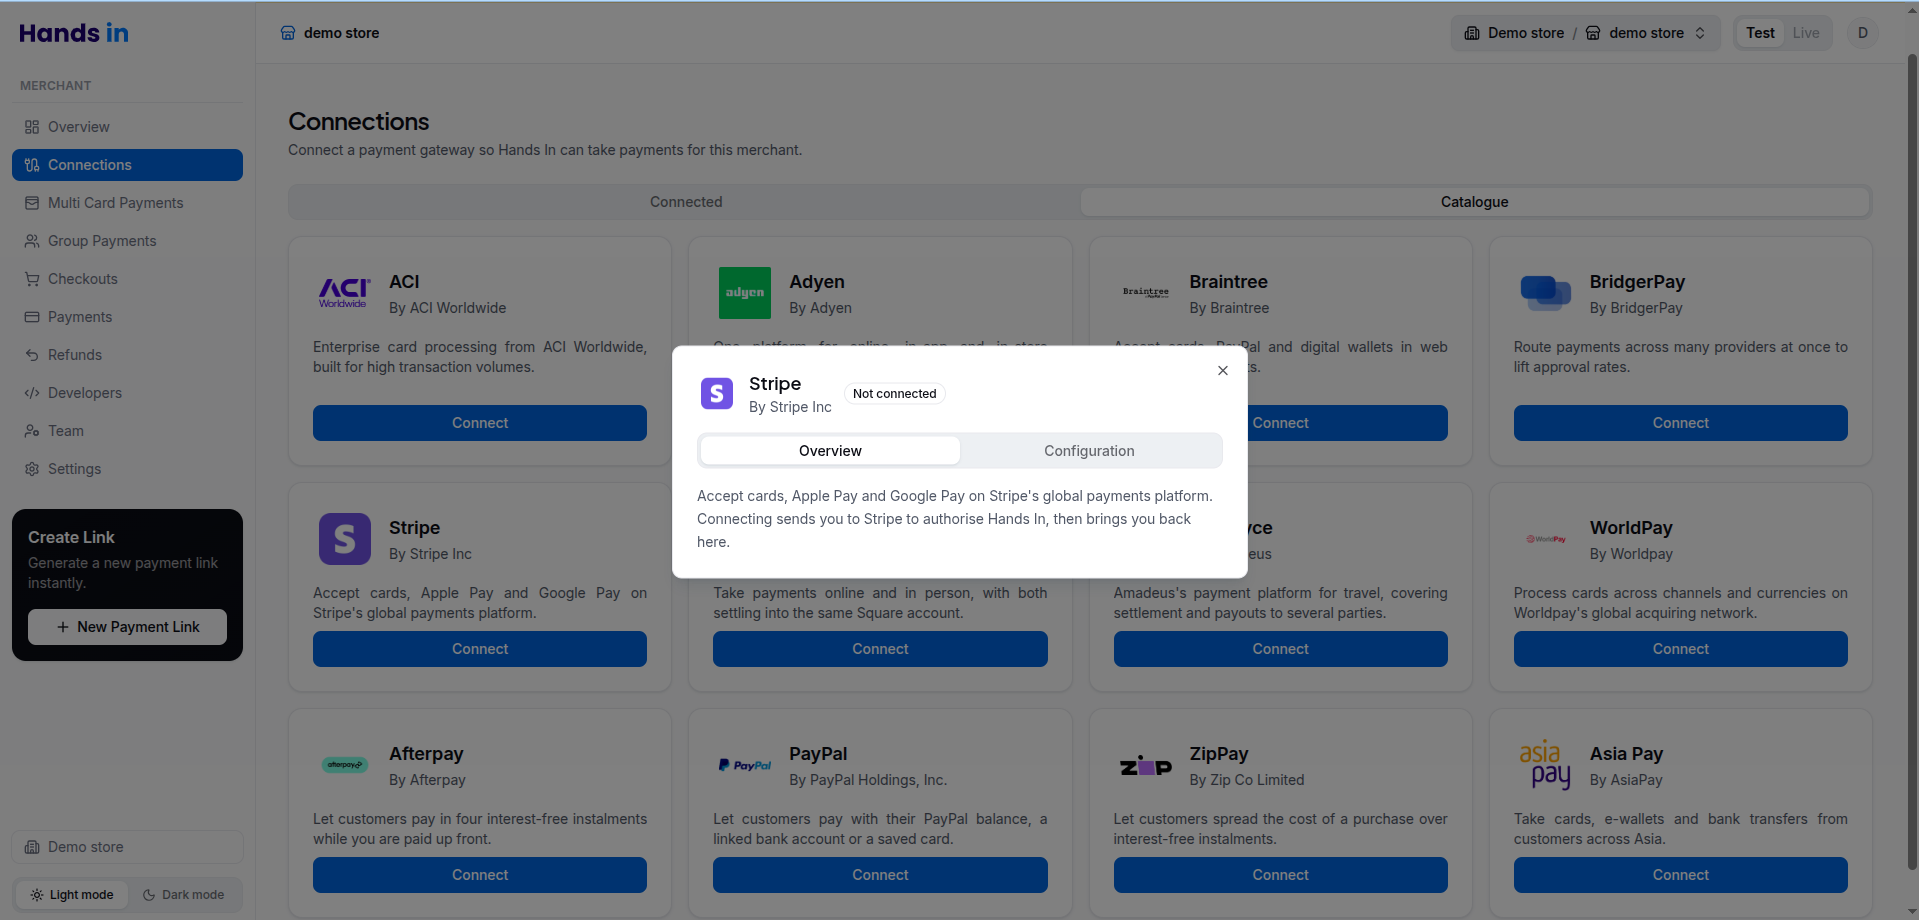
Click **Connect** on the payment processor you would like to use and follow the instructions displayed to complete the connection. Depending on the processor, we either send you to their site to authorise Hands In and then bring you back, or ask you for credentials such as API keys.
> **Note:** If your preferred provider isn’t listed, we recommend connecting **Stripe** for immediate testing. Stripe requires no credentials for sandbox use and lets you start creating test payments right away. You can open the dashboard before connecting a processor, but Hands In cannot process payments until at least one processor is connected and enabled.
Once you’ve connected at least one processor, it appears on the **Connected** tab and you are ready to start using Hands In 🥳
***
### Example of connecting stripe with no credentials [#example-of-connecting-stripe-with-no-credentials]
***
 Click **Connect** on the payment processor you would like to use and follow the instructions displayed to complete the connection. Depending on the processor, we either send you to their site to authorise Hands In and then bring you back, or ask you for credentials such as API keys.
 > **Note:** If your preferred provider isn’t listed, we recommend connecting **Stripe** for immediate testing. Stripe requires no credentials for sandbox use and lets you start creating test payments right away. You can open the dashboard before connecting a processor, but Hands In cannot process payments until at least one processor is connected and enabled.
Once you’ve connected at least one processor, it appears on the **Connected** tab and you are ready to start using Hands In 🥳
***
### Example of connecting stripe with no credentials [#example-of-connecting-stripe-with-no-credentials]